● SEASON 1 LIVETHE ARANTHIAN SUCCESSIONGANGS IN THE WARNEW CAMPAIGN SEASON — RECRUITINGSPIRE THRONE: CONTESTED● SEASON 1 LIVETHE ARANTHIAN SUCCESSIONGANGS IN THE WARNEW CAMPAIGN SEASON — RECRUITINGSPIRE THRONE: CONTESTED
Gangs fighting in the Underhive
// HOW TO PLAY

Every battle in Necromunda follows the same ritual.

Necromunda is a skirmish game: two gangs of miniatures, a table dense with terrain, dice and brutal decisions. This guide walks through the complete flow of a game — from the pre-battle handshake to the report to the Arbitrator — in checklists you can tick right at the table.

BASED ON THE NECROMUNDA CORE RULEBOOK (2023) · PAGES CITED AT EVERY STEP

CHECKLISTS

Practical steps you tick off as you go — progress is saved while the page stays open.

REFERENCES

Each step points to the Core Rulebook (2023) page where the full rule lives: (pg. XX).

00 // START HERE

What you need to play

Your first battle in the Underhive is close.
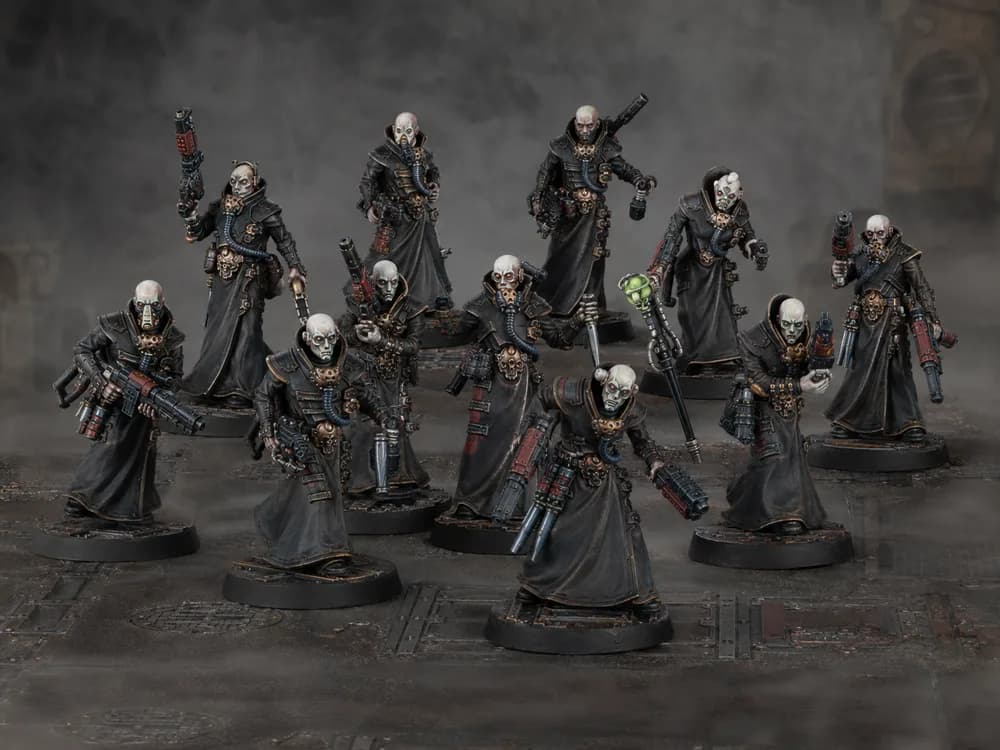
A gang of miniatures
ESSENTIAL
A gang of miniatures

Around 10 fighters from one of the Clan Houses (Escher, Goliath, Orlock, Van Saar, Delaque or Cawdor). A gang box from your House is the classic starting point.
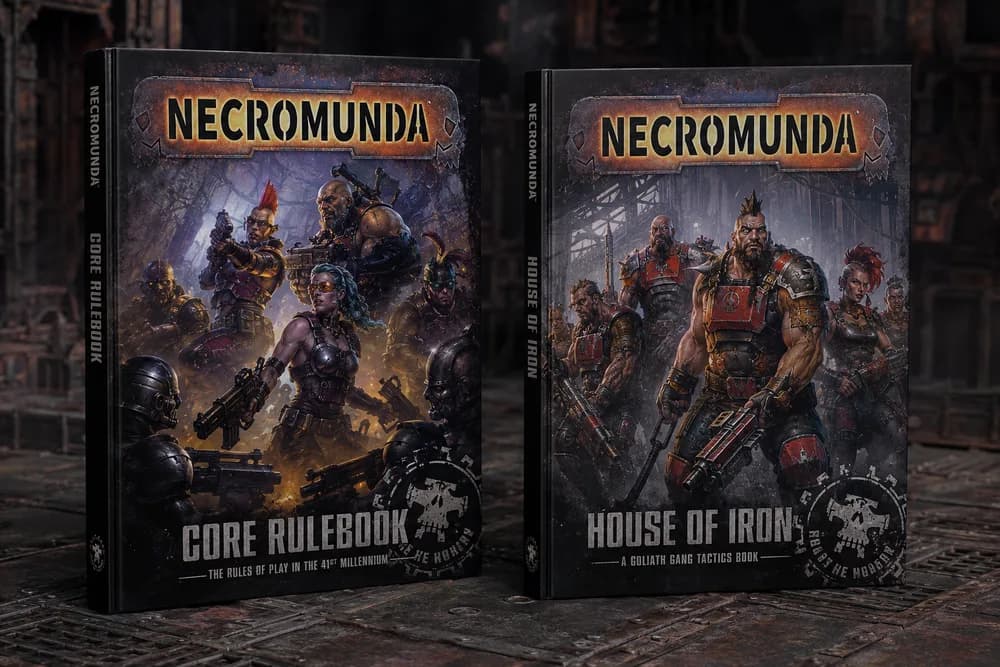
Core Rulebook + your gang's book
ESSENTIAL
Core Rulebook + your gang's book

The central rulebook. Every page reference in this guide points to it. Your gang's book (House of Blades, Chains, Iron…) adds the rules, fighters and equipment specific to the House you chose.
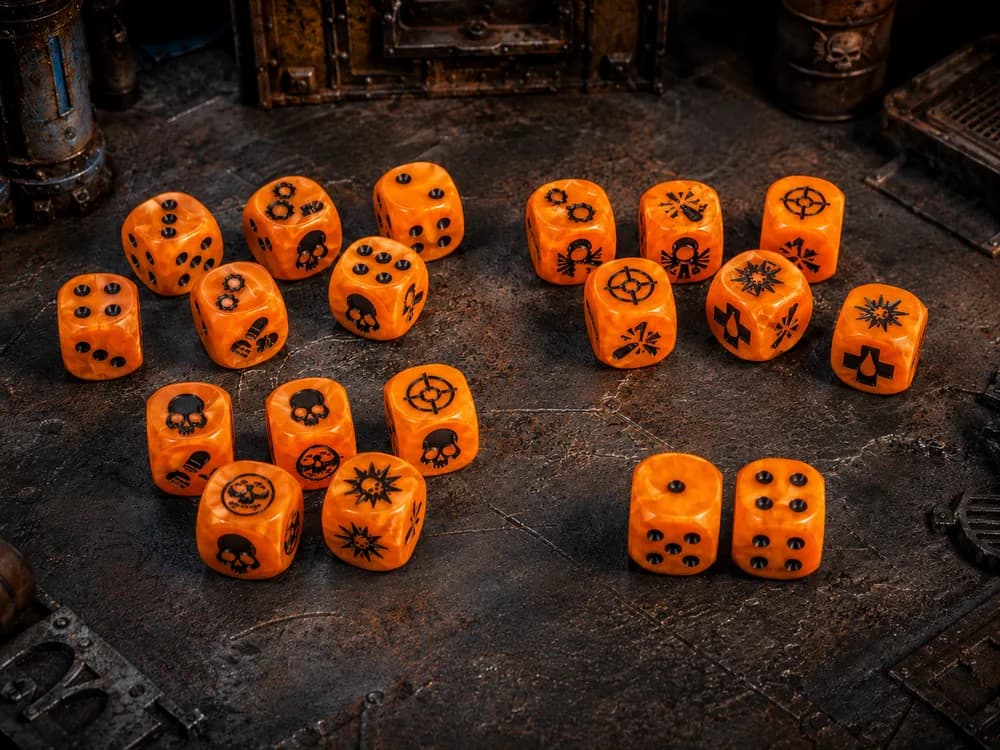
Necromunda dice
ESSENTIAL
Necromunda dice

Several regular D6, plus the special dice: Firepower dice (ammo), Injury dice (injuries) and a pair of differently coloured D6 for rolling D66 on the tables.
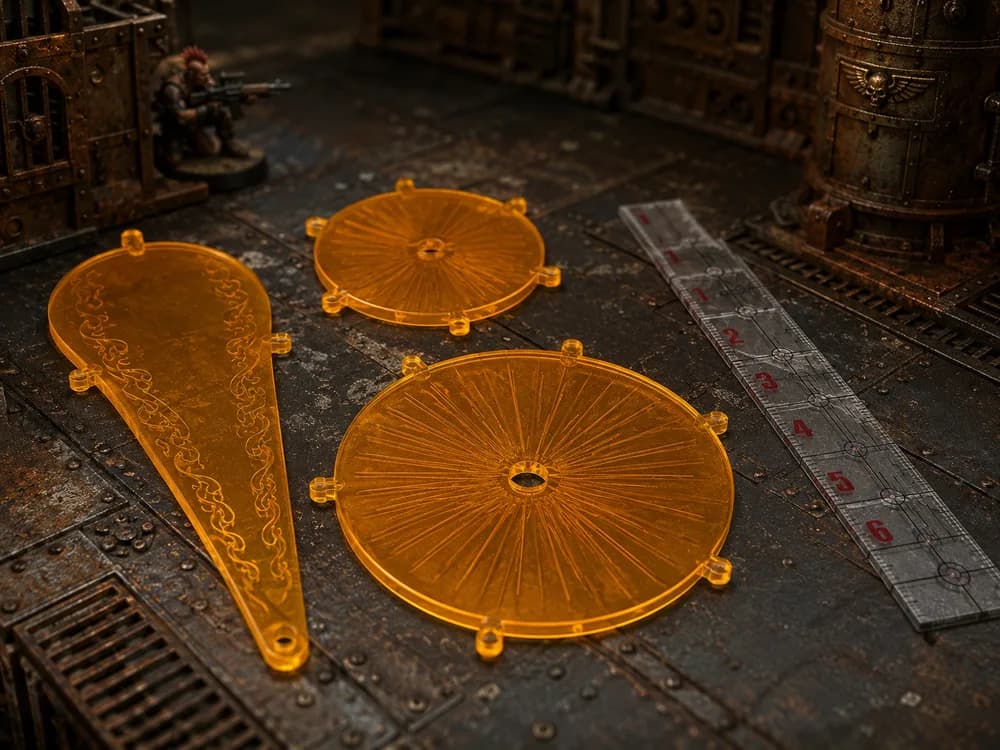
Tape measure & templates
ESSENTIAL
Tape measure & templates

Distances are in inches. The Blast (3"/5") and Flame templates resolve area weapons — and Necromunda uses true model line of sight, so crouch down and take aim.
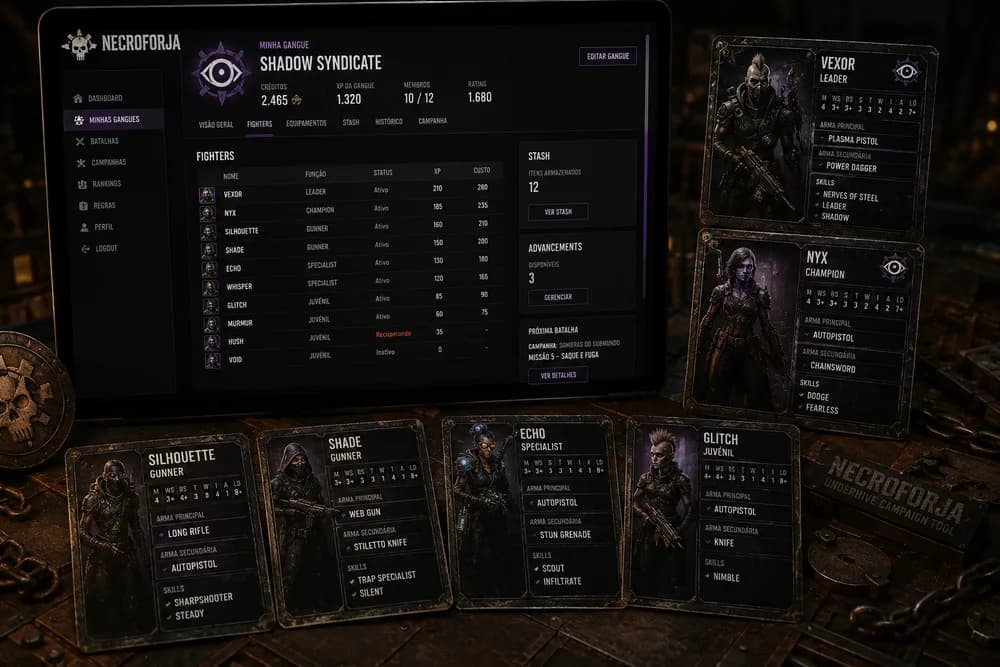
Fighter cards & roster
ON NECROFORJA
Fighter cards & roster

Each fighter has a card with profile, weapons and skills. On NecroForja your gang's roster is digital: credits, XP, stash and advancements are tracked between battles.
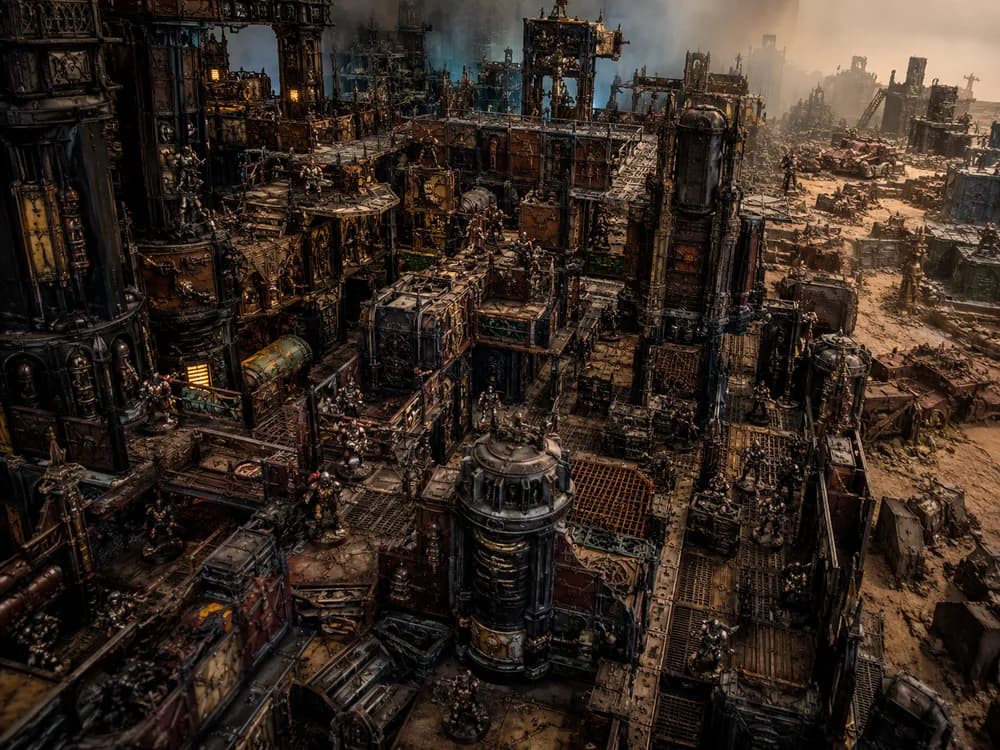
Terrain — lots of terrain
RECOMMENDED
Terrain — lots of terrain

The Underhive is vertical and claustrophobic. Walkways, towers, containers and ruins: the denser the table, the better the game. Zone Mortalis (corridors), Sector Mechanicus (platforms) — or, in the Ash Wastes, highways and open ruins.

01 // THE GAME LOOP

The 3 big phases

Every game of Necromunda happens in this order. Click a phase to jump straight to its checklist.

INSIDE EACH ROUND:PRIORITY PHASE→ACTION PHASE→END PHASE→REPEAT ↻
02 // PRE-BATTLE SEQUENCE

Before the battlefield is set up and the battle begins — 8 admin steps, done with both players present (Core Rulebook 2023, pg. 97). Tick each step as you complete it.

0/8 STEPS
  • ☐In a campaign: the challenger and the challenged were already decided before this session; confirm it.
  • ☐Sympathiser/Territory at stake: identify what the “prize” of this battle will be (campaign-specific rules).
  • ☐In a skirmish: both players simply agree to play a game; nothing is staked.
⚠ RESCUE MISSION (CAMPAIGN)

If one of your fighters has been Captured by another gang, you may issue a Rescue Mission. If the other gang refuses, it automatically loses the captive. If it accepts, the Rescue Mission replaces the normal scenario — nothing is staked, the captive IS the prize.

03 // BATTLE ROUND

The battle itself. Each round has 3 sub-phases in this order: Priority → Action → End (Core Rulebook 2023, pg. 99). The loop repeats until someone wins, everyone bottles out, or the scenario ends.

// 2.A — PRIORITY PHASEpg. 100

“Who acts first this round, and who is ready to act.”

  • Roll for Priority: both players roll 1D6. Highest wins and takes the Priority marker. Tie: whoever had Priority last round passes it to the opponent. In the 1st round, on a tie, both re-roll.
  • Ready Gang: each player places a Ready marker on each of their models on the battlefield. Models with certain Conditions/Statuses may not gain Ready.
04 // COMBAT

The two ways to bring an enemy down — shooting and close combat — and what happens when a hit connects. Walk through each sequence step by step and use the To Wound calculator.

01
Target priority

Target the CLOSEST eligible enemy. To pick another target, test Cool (2D6 ≥ Cool). Exceptions: a Prone & SI target or one harder to hit may be ignored.

1 / 6
// HIT MODIFIERS
Partial cover-1
Full cover-2
Accuracy (weapon range band)±
Target Engaged-1
Target Prone (Long range only)-1
Target is a point on terrain-2
Natural 1MISS
// TO WOUND CALCULATOR

The weapon's Strength against the target's Toughness — the die shows what you need to roll to wound.

ATTACK STRENGTH
TARGET TOUGHNESS
S3 vs T3
S = T
4+
ON THE D6 TO WOUND
// INJURY DICE
OOA
Out of Action
Leaves the game. In a campaign, roll on the Lasting Injury table (D66).
SI
Serious Injury
Becomes Prone & Seriously Injured (an extra result becomes a Flesh Wound).
FW
Flesh Wound
-1 Toughness. If Toughness reaches 0, the fighter is Out of Action.
05 // POST-BATTLE SEQUENCE

After the final round is over — 7 steps, in this order, with both players present (Core Rulebook 2023, pg. 142). In a skirmish, skip the campaign-specific steps.

0/7 STEPS
  • ☐Succumb to injuries: for each fighter still Prone & Seriously Injured on the battlefield (or who fled in that state), roll 1D6. 1–2 = succumbs (OOA, roll a Lasting Injury). 3+ = survives.
  • ☐Being Captured: for each fighter with a 55–56 (Captured) result on the Lasting Injury table, roll 1D6 + modifiers (-1 draw, -2 lost, -2 was Webbed). 4+ = escapes into Convalescence. Failed = becomes a Captive.
  • ☐Claiming Scrap: if only one gang is left on the battlefield, it gains D3×10 credits for each enemy vehicle Wrecked on the field.
  • ☐Clear In Recovery: fighters who were In Recovery are considered recovered — clear the box.
06 // QUICK REFERENCE

The pocket summaries to consult mid-game: statuses and conditions, characteristic tests, automatic XP, end of battle and falling damage.

// FIGHTER STATUSES & CONDITIONS
STATUS
Standing & Active

The default. On their feet, no engaged enemy. Can take any action.

// CHARACTERISTIC TESTS
WS / BS / Initiative1D6 ≥ target
e.g.: a 4+ profile passes on a 4, 5 or 6
Ld / Cool / Will / Int2D6 ≥ target
morale and mind tests
Strength / Toughness1D6 ≤ value
the lower the roll, the better

A natural 1 on a Hit or Save = automatic failure. Roll-off: highest wins; a tie is re-rolled.

// XP EARNED IN BATTLE (PG. 148)
1 XPCause a Serious Injury on an enemy (1× per enemy per activation).
2 XPTake an enemy Out of Action (1× per enemy per activation). +1 extra XP if the victim is a Leader/Champion.
2 XPWreck an enemy vehicle.
1 XPTake part in the battle (if the scenario does not grant XP for participating).
1 XPBe Broken and rally successfully.
1 XPGive Assistance to a Recovery test that ended in Prone & Pinned.
// WHEN THE BATTLE ENDS
Full bottle out

A gang declared flight at the start of an Action Phase. All Standing models flee (Initiative test for Engaged); the battle ends when only that gang's Prone & SI models remain.

Scenario complete

Each scenario has its own end condition: maximum rounds, objective destroyed, all attackers defeated, etc.

Victory / Defeat / Draw

Defined by the scenario (and by campaign-specific rules).

// FALLING DAMAGE (3″+)
HEIGHTHIT PROFILE
3″–5″S3 · AP - · D1
6″–7″S5 · AP -1 · D1
8″–9″S7 · AP -2 · D2
10″+S9 · AP -3 · D3

The higher the Underhive, the longer the fall. Mind the walkways.